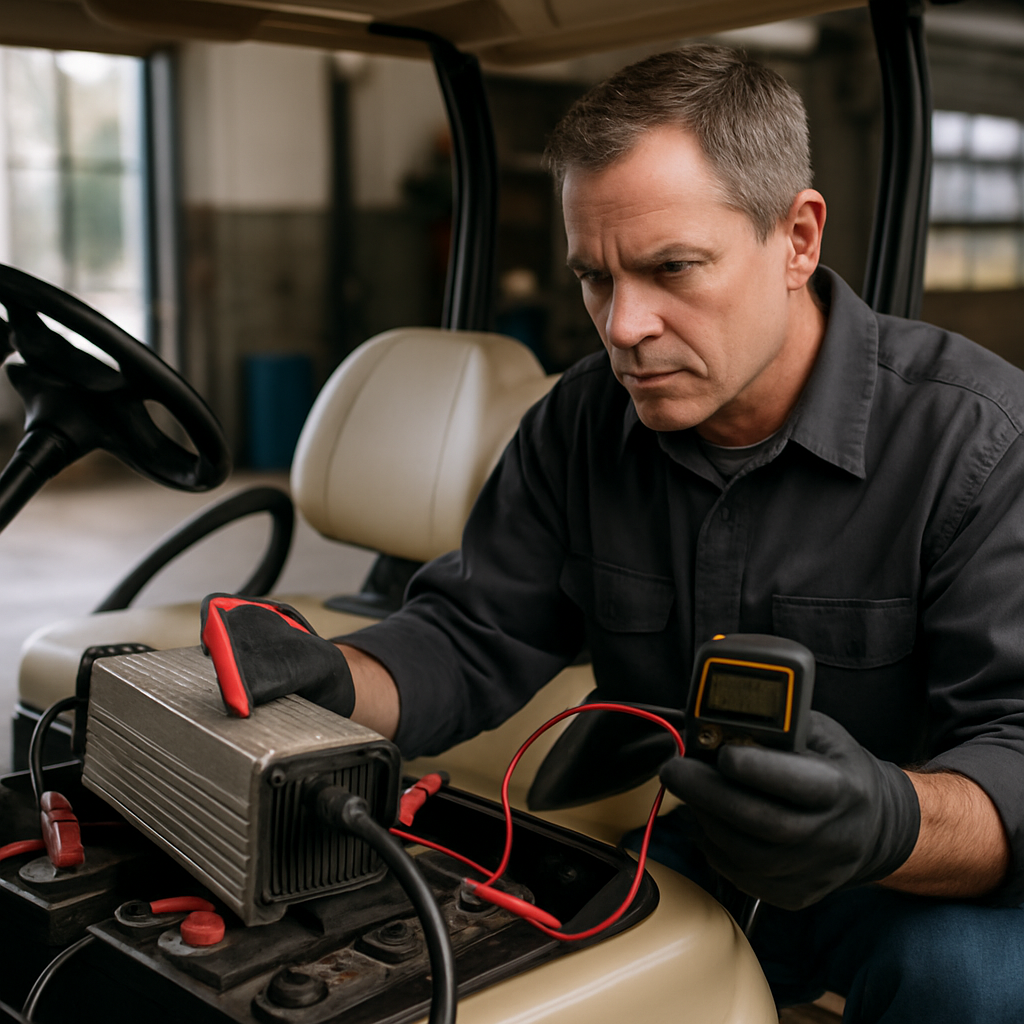
A golf cart that will not charge does not automatically have a failed battery charger. The fault may be the mains supply, an incompatible charger, a damaged lead or connector, poor battery-terminal condition, the battery pack itself, or a model-specific charging control. Start with safe external checks and the exact charger manual before deciding that golf cart battery charger repair is needed.
There is also an important limit to DIY work: do not open a charger, work around a damaged cable, or improvise charging equipment. In the E-Z-GO ELiTE lithium-charger guidance, E-Z-GO instructs owners not to open or disassemble the charger and to refer repair work to the manufacturer or qualified personnel. That instruction is specific to the covered equipment, but it is a sensible safety boundary when an internal charger fault is suspected.
How to Troubleshoot a Golf Cart Battery Charger Before Calling It Bad
A no-charge symptom needs a process, not a guess. The aim is to separate basic external problems from an internal charger defect without exposing yourself to electrical shock or damaging the battery system.
1. Identify the complete charging system
Before connecting or testing anything, record the cart make and model, charger make and model, charger part number, battery chemistry, pack voltage, and connector type. A charger must be matched to the system’s voltage, plug type, battery chemistry and amperage; a charger guide from Golf Cart Stuff highlights all four as compatibility requirements.
Do not assume that two chargers with similar-looking plugs are interchangeable. Nominal voltage is only one part of compatibility. The connector, chemistry-specific charging profile and current capability matter as well.
2. Stop if there is visible damage
Do not use the charger if its AC supply cord, DC output lead, plug, housing or contacts are damaged. Stop work as well if the charger has been dropped, struck, has exposed or uninsulated connections, or appears to have an uncertain internal fault. Do not touch uninsulated output contacts or battery terminals.
The E-Z-GO ELiTE owner documentation warns against operating a charger with damaged cords or after impact damage. It also says to disconnect the charger from the AC supply or the vehicle before making or breaking battery connections. Those are appropriate precautions for the E-Z-GO equipment addressed by the manual; your cart and charger manuals remain the controlling instructions for your model.
3. Check the power source safely
Use an outlet that is properly installed and grounded. Do not alter the plug and do not use a ground adapter. First establish whether the outlet has power, then reconnect the charger exactly as its manual specifies.
Do not turn an outlet check into an internal-charger repair attempt. If the charger has no normal power indication despite a known-good, grounded supply, or if its cord or housing is damaged, move to model-specific service guidance rather than opening the unit.
4. Inspect the external charging path
With power disconnected, visually inspect the AC cord, DC lead, charging plug, receptacle and accessible battery connections for obvious damage, contamination, looseness or corrosion. Do not handle exposed conductors. A compromised plug or lead can interrupt charging even when the charger electronics are not the underlying problem.
Then connect the charger in the order required by the vehicle and charger manuals. Some systems use automatic charging behaviour; others use controls or interlocks that are specific to the cart. Generic internet advice cannot reliably substitute for the correct manual.
5. Treat lights and meters as model-specific information
Indicator lights, flashing patterns and analogue-meter movement can be useful clues, but there is no universal golf-cart charger code chart. A red flash on one charger, or a meter position on another, is not a diagnosis without that charger’s manufacturer documentation.
For a useful Club Car-specific example, the supplied Club Car service information says an automatic charger should start automatically. If its ammeter does not rise fully or does not rise at all, the document directs the owner to check the AC outlet and then consult the charger owner’s manual for testing and repair information. Read that guidance in its original context in the Club Car service manual. It is not a universal ammeter target or a universal procedure for every Club Car charger.
6. Keep battery assessment separate from charger diagnosis
A charger can only work with a battery system that is connected, compatible and in a condition the system can recognise. The Club Car information also advises ensuring the vehicle battery is fully charged and tested before wider electrical diagnosis. The useful diagnostic principle is that battery condition needs assessment before blaming the charger or diagnosing the rest of the vehicle electrical system.
That does not mean every uncharged or deeply discharged pack can safely be restored. It means the pack needs an appropriate test and a model-specific assessment.
A Quick No-Charge Decision Guide
| What you find | What it can mean | Appropriate next step |
|---|---|---|
| Charger, cord, plug or contacts visibly damaged | A potential equipment and electrical-safety issue; an internal fault cannot be ruled out. | Stop using it. Seek manufacturer or qualified service. |
| Outlet has no power or is not a suitable grounded outlet | The charger may have no usable AC supply. | Correct the supply issue safely; do not alter the charger plug. |
| Charger does not start its normal cycle | Possible supply, connector, battery-pack, control or charger issue. | Check compatibility and consult the exact charger and cart manuals. |
| Unknown, deeply discharged or suspect battery pack | The battery condition may be preventing normal charging, or the pack may need service. | Arrange battery testing and follow battery/vehicle manufacturer guidance. |
| Unfamiliar flashing light or unusual meter behaviour | A model-specific status or fault indication. | Use the exact charger manual; do not rely on a generic code interpretation. |
This guide deliberately does not provide output-voltage targets, battery-voltage thresholds, fuse ratings, pinouts or current readings. Those values vary by charger and battery system, and the available material does not establish safe universal figures.
Can a Golf Cart Charger Be Repaired, and When Is Professional Service the Better Choice?
Yes, a golf cart charger can be damaged or defective. But a cart that will not charge is not proof that the charger has failed internally. Compatibility, the AC supply, leads, plug, battery connections, battery-pack condition and any vehicle-specific controls should be considered first.
There is no evidence here to support a universal golf cart battery charger repair kit, interchangeable internal parts, or component-level repair instructions. A repair kit that suits one charger may be unsuitable or unsafe for another.
What to establish before considering a repair part or service option
- The exact charger manufacturer, model and part number.
- The cart’s full battery-pack voltage and battery chemistry.
- The connector type and the charger’s intended vehicle application.
- The charger and vehicle documentation for that exact system.
- Whether the manufacturer permits parts replacement or requires approved service.
For the E-Z-GO ELiTE lithium charger covered in the supplied E-Z-GO manual, the direction is clear: do not open or disassemble the unit; refer repair to the manufacturer or qualified personnel. Do not treat that wording as a verbatim instruction for every charger model, but do treat damaged equipment and suspected internal electronics faults as a strong reason to use qualified service.
Manufacturer and dealer resources can help locate the right documentation and support route. For example, Bintelli’s manuals page, Isle Golf Cars’ service-manual library, and Club Car’s parts and service resources are useful starting points for the applicable products they cover. They do not, however, validate a repair procedure for every brand or charger.
When not to use a DIY repair kit
Do not pursue a DIY internal repair where there is a damaged cable, cracked housing, impact or drop damage, exposed contacts, signs of overheating, or uncertainty about what has failed. The same applies when the charger is used with a lithium battery system and the manufacturer directs owners not to disassemble it. In those circumstances, manufacturer support or a qualified technician is the safer next step.
Do not assume replacement is always preferable, and do not assume repair is always economical. Repairability, approved parts, warranty implications and service availability depend on the exact unit; the supplied research does not provide reliable cross-brand pricing, labour times or repair-versus-replacement comparisons.
When a Dead Golf Cart Battery Will Not Charge: Separate the Battery Problem From the Charger Problem
A cart with a dead battery pack may have a battery problem, a charger problem, a cable or connector problem, a supply problem, or a model-specific control issue. The same no-charge symptom can come from more than one cause.
Whether a completely dead golf-cart battery can be recharged cannot be answered safely with a universal yes or no. The outcome depends on the exact battery chemistry, its condition, the charging system and the manufacturer’s instructions. The supplied information does not support a battery-revival procedure or a claim that every deeply discharged pack is recoverable.
Lead-acid and lithium systems are not interchangeable
Do not transfer flooded lead-acid watering, equalisation or revival practices to a lithium system. Likewise, do not assume lithium charging safeguards apply in exactly the same way to every lead-acid cart. The E-Z-GO source used in this article concerns an ELiTE lithium vehicle and charger; it provides important handling and non-disassembly warnings, not a general method for recovering 6-volt or 8-volt flooded batteries.
If the pack is deeply discharged, its chemistry is unclear, a cable or terminal is damaged, or the charger will not begin its normal cycle, arrange an appropriate battery test and use model-specific service information. Do not attempt to force a charge by bypassing charger controls or connecting unmatched equipment.
Do Not Substitute a 12-Volt Charger for a 48-Volt Pack or an 8-Volt Golf Cart Battery
Do not use a 12-volt charger as a substitute for a correctly matched 48-volt golf-cart charger. Also, do not use a 12-volt charger to charge an 8-volt golf-cart battery. These are voltage-mismatch situations, and voltage alone is not the only concern: chemistry, plug type, charging control profile and current capability must also match.
Do not build a series or parallel workaround, make an improvised adapter, bypass a connector, or attempt to charge batteries individually with unsuitable equipment. Such approaches can defeat the intended charging arrangement and create a risk of battery or equipment damage.
If you have the wrong charger, identify the cart’s complete pack voltage and battery chemistry from its vehicle and battery documentation, then obtain the correctly matched charger or use qualified service. Use a properly grounded outlet, do not modify the charger plug or use ground adapters, avoid uninsulated contacts, and disconnect the AC supply or cart before changing connections.
Golf Cart Battery Charging Tips That Are Safe to Apply Broadly
Charging advice becomes highly model- and chemistry-dependent very quickly. These limited practices are broadly sound because they focus on compatibility, inspection and manufacturer instructions rather than unsupported settings or recovery methods:
- Use a charger that matches the cart’s battery-system voltage, chemistry, connector and required charging capability.
- Use a properly installed, grounded electrical outlet.
- Inspect the charger, AC cord, DC lead, plug and accessible connections before use; do not operate visibly damaged equipment.
- Do not modify a plug, use a ground adapter or touch uninsulated contacts.
- Disconnect the charger from the AC supply or the cart before making or breaking battery connections, following the manual’s specified connection sequence.
- Use the exact charger and vehicle manuals to understand normal indicators, controls and charging behaviour.
- Keep lead-acid and lithium guidance separate. Follow the battery and vehicle manufacturer rather than applying generic watering, equalisation, storage or deep-discharge advice.
Correct matching and careful connection practices can prevent avoidable no-charge problems. They do not prove that an existing battery pack or charger is healthy.
When to Call a Professional
Seek manufacturer or qualified service when a charger has a damaged cord or case, exposed contacts, impact damage, suspected internal fault, or a manual instruction not to disassemble it. Professional diagnosis is also appropriate when the battery chemistry is unknown, the pack is deeply discharged, connections are damaged, or the charger will not start its normal cycle after the safe external checks above.
Bring the charger model and part number, cart model, battery chemistry, pack voltage, and a description of the observed light or meter behaviour. That information allows a technician or manufacturer support team to use the correct service documentation rather than guessing from a generic no-charge symptom.